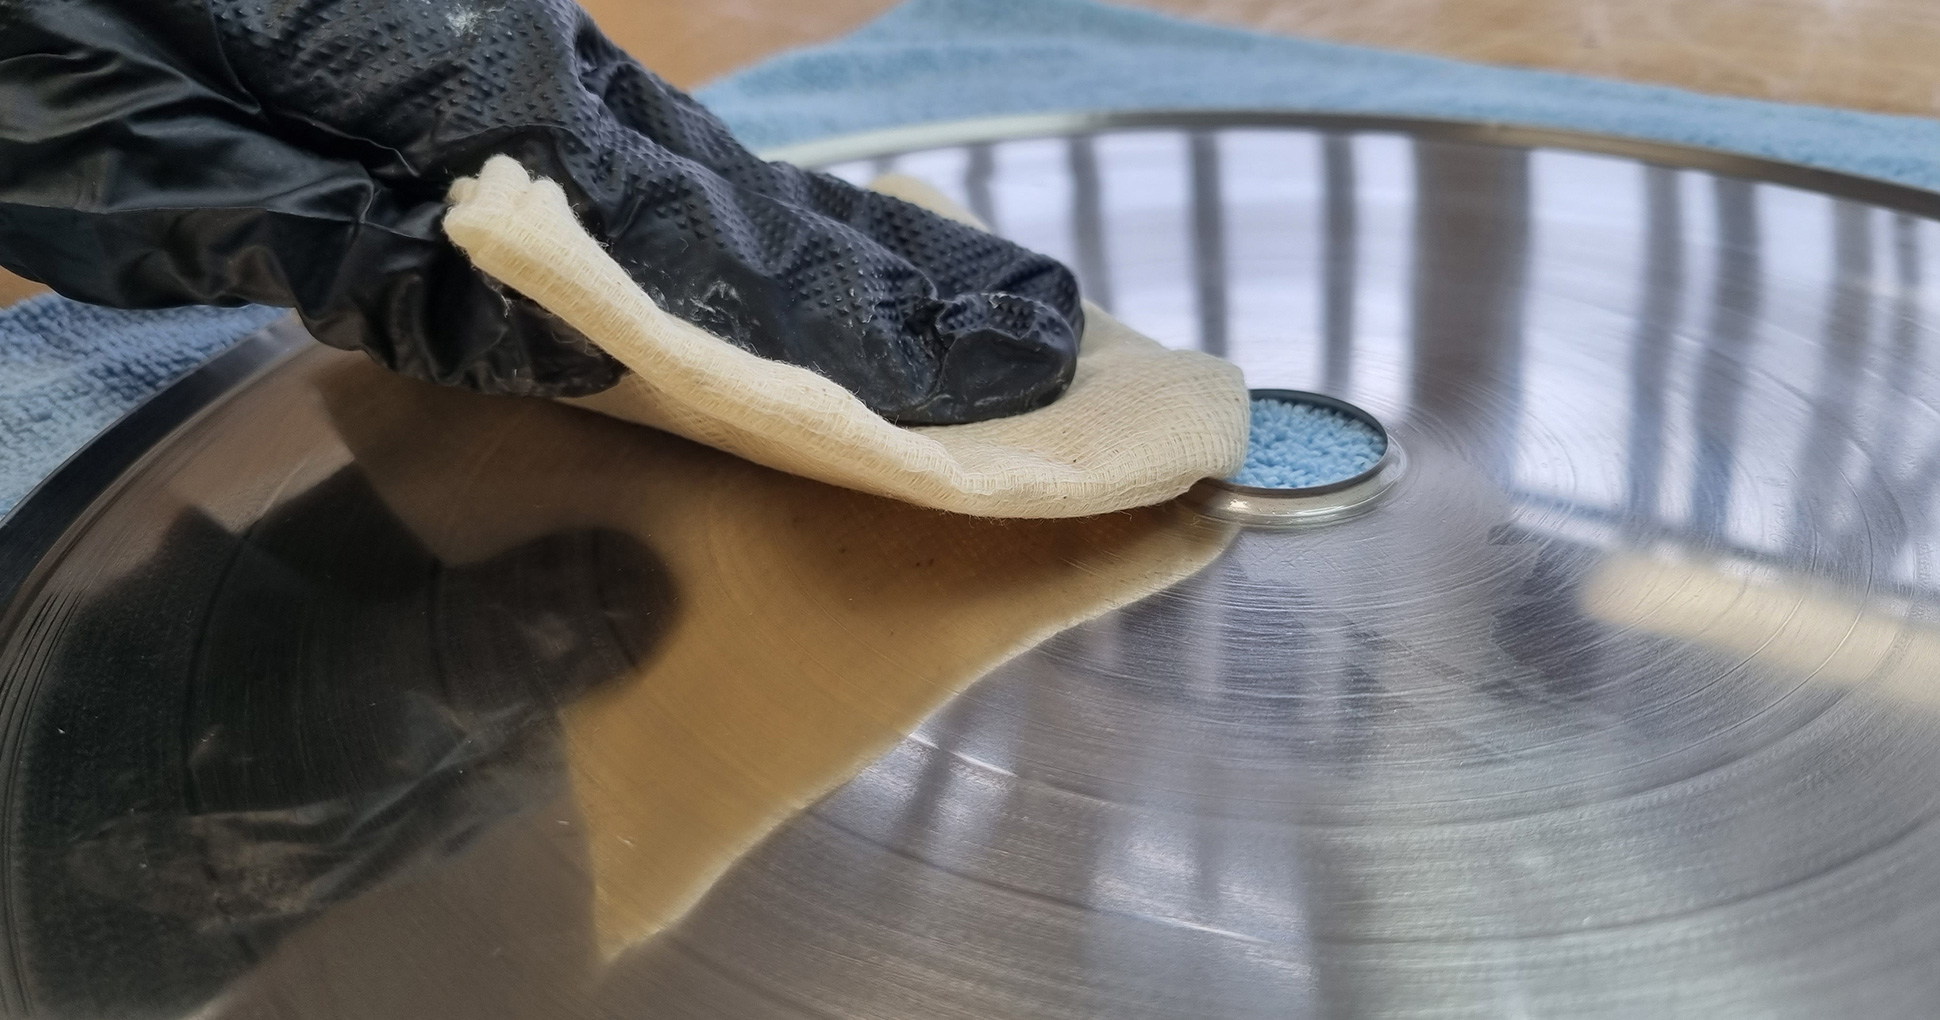
Cleaning stampers on the record press
Martin Frings
1 June 2023
There is no universally accepted ‘best practice’ when it comes to cleaning stampers. I’ve seen everything from a minimal surface wipe with WD40 through to ultrasonic baths on the press floor. But here’s the method I used when I was pressing records…
The front of the stamper
The blue film that we use to protect the top of the stamper is specified for optical discs and is residue-free. It’s placed onto the stamper after separation, and before forming, so that the stamper should arrive on the press floor in pristine condition and should not need any cleaning.
Whilst we try and avoid it, sometimes there will be a small watermark or water stain from production that has snuck through. If this is the case some RO water and a microfibre cloth should do the trick. But in general the stampers are good to go.
Later on in the pressing cycle where you may get label blooming or steam marks on the stamper, then I would suggest either Silvo or Brasso. Both come in liquid form as well as with pre-soaked wadding. The wadding is acceptable for cleaning stampers but it’s preferable to buy the solutions in liquid form and apply them with a less abrasive microfibre cloth.
In both instances though I find they are too concentrated and need a bit of dilution (50/50) with either acetone or RO water.
We also recommend Isopar G as a stamper cleaning solution. Like acetone, it evaporates and leaves little residue but its main bonus is that it is paraffin based. This means it acts somewhat as a lubricant with the wadding/cloth and really minimises any scratches or marks from cleaning on the front of the stamper, that would result in increased surface noise.
The back of the stamper
Regardless of how clean a stamper looks the back should always be cleaned prior to mounting on the press. It should also ideally be done in a very well lit area.
I start by squirting the back of the stamper with a small amount of either acetone or Isopar G. You should aim for enough so that you can push it around a bit… but not so much that it’s swimming around. Then using a large fibre-free cloth folded into a square I will start in the centre of the stamper and slowly spiral my way to the outer diameter making a series of small circles as I go.
Then I will fold the cloth to a clean side and keep repeating the process until the cloth is still clean by time I get to the outer edge. Finally I will give it a wipe with a carpenter’s tack cloth to remove any final little fibres. I will then flip the stamper over so that nothing settles on the back whilst I the repeat the process on the mold.
Prior to mounting the stamper it’s also advisable to turn off any fans and shut any doors that are whipping up dust particles.
Carry the stamper over to the press with the rear of the stamper facing down (so as nothing lands on it), I will give the rear of the stamper a thorough blast with the airgun – spiralling out from the centre and then the mold as well. Once I’ve done this final blast with the airgun I try and get the stamper onto press in a couple of seconds.

